[STEP 2] Dealer Onboarding: Account Setup
Setting up your dealer client's account will require that you provide BuyerBridge with information that will remain unchanged, such as where you'll be sending leads (lead destination).
The information that is required in the Account Setup step will be dependent on the product(s) you’re onboarding your client to.
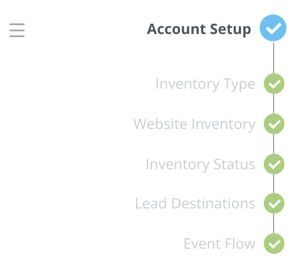
For example, if you’re onboarding a dealer that will be running Automotive Inventory Ads, to set up their account you will need to complete the following steps:

Seeing as we offer different products, Account Setup requirements may vary...
For example: if your dealer wants to deploy Service ads or Buyback ads, we do not require that you provide Inventory.
The BuyerBridge platform makes it simple by displaying each step that must be completed as you’re setting up your account.
👀 NOTE: if you are coming back to deploy a new playbook, the onboarding system will not display steps that have already been completed. For example, if you already set up your inventory, that step will not display again!
Website and Feed Inventory Setup
(Inventory Type, Website Inventory, Inventory Status)
- First, choose how you would like BuyerBridge to retrieve inventory - there are 2 options:
- Use Website Inventory: This inventory type scrapes dealers’ sites for inventory with your final approval and is recommended to get up and running quickly. This option will only be available when our scraper is able to properly access the site’s inventory.
-
-
Click Approve to confirm that the vehicle details and pricing are accurate, and agree to the BuyerBridge terms & conditions around pricing (Website Inventory).
-
Once your Inventory Status is Processed, you have successfully set up your Inventory. Please note that inventory processing can sometimes take up to 10 minutes depending on the demand on our system at that time.
-
Continue to Step 2.
-
- Use Feed Inventory: This inventory type requires coordinating directly with the dealer’s feed provider to have them send a data feed directly to BuyerBridge. On the next step, select the dealer’s Feed Provider.
Don’t see your Feed Provider? Click the prompt to open a new window to “Request a New Feed Provider.” We must evaluate the new provider to ensure we can sync with them, then work directly with them to integrate. This process can take up to 2 weeks.
-
- All feed providers will use a type of identifier (ID) which allows our system to differentiate a specific dealer’s inventory from others in the feed. You will need to work with the provider to ensure they’re exporting the dealer’s inventory to BuyerBridge and, once they are, obtain the ID they’re using.
- If you know the ID select Yes, I have the ID > Enter the ID and select Validate ID.
- Once the ID String is Successfully Found in your Feed Provider’s Feed, press Continue and we will begin processing.
- If you DON'T know the ID: select No, I need to get it from the provider. From there, we will provide some direction on coordinating with the provider...you can:
- Get written approval from an authorized contact at your dealer that allows their inventory to be exported to BuyerBridge.
- Send a copy directly to your Feed Provider (once approval is received) and request that they export your dealer’s inventory to BuyerBridge.
- Click View & Send Emails to access our Inventory Export Request Emails template for the two instances above.
- After your Feed Provider has begun exporting, they will provide you with an identifier for this account. Once you have the ID, select Yes, I have the ID.
-
-
- In this final step, decide if you want to use Facebook Marketplace by selecting Yes, list on Facebook Marketplace! or No, thanks. You can change this on the platform after Onboarding if you change your mind.
Lead Destinations
Lead destinations determine where BuyerBridge should send leads when received through various sources like Facebook lead ads, our chatbot, and API setups (e.g. using Zapier, etc).
- Select Add Lead Destination to [Add Email Destination] in ADF XML (if you want to receive it in code for dealership’s CRM) or Plain Text and enter a single or multiple Email Destinations.
- Continue to the next step. Now, you will need to select the specific Lead Destination (this will determine where BuyerBridge should send leads when received through various sources).
EventFlow
Event Flow is our new communication system used to communicate events back to the channel instead of installing a pixel or Google Tag Manager on your site.
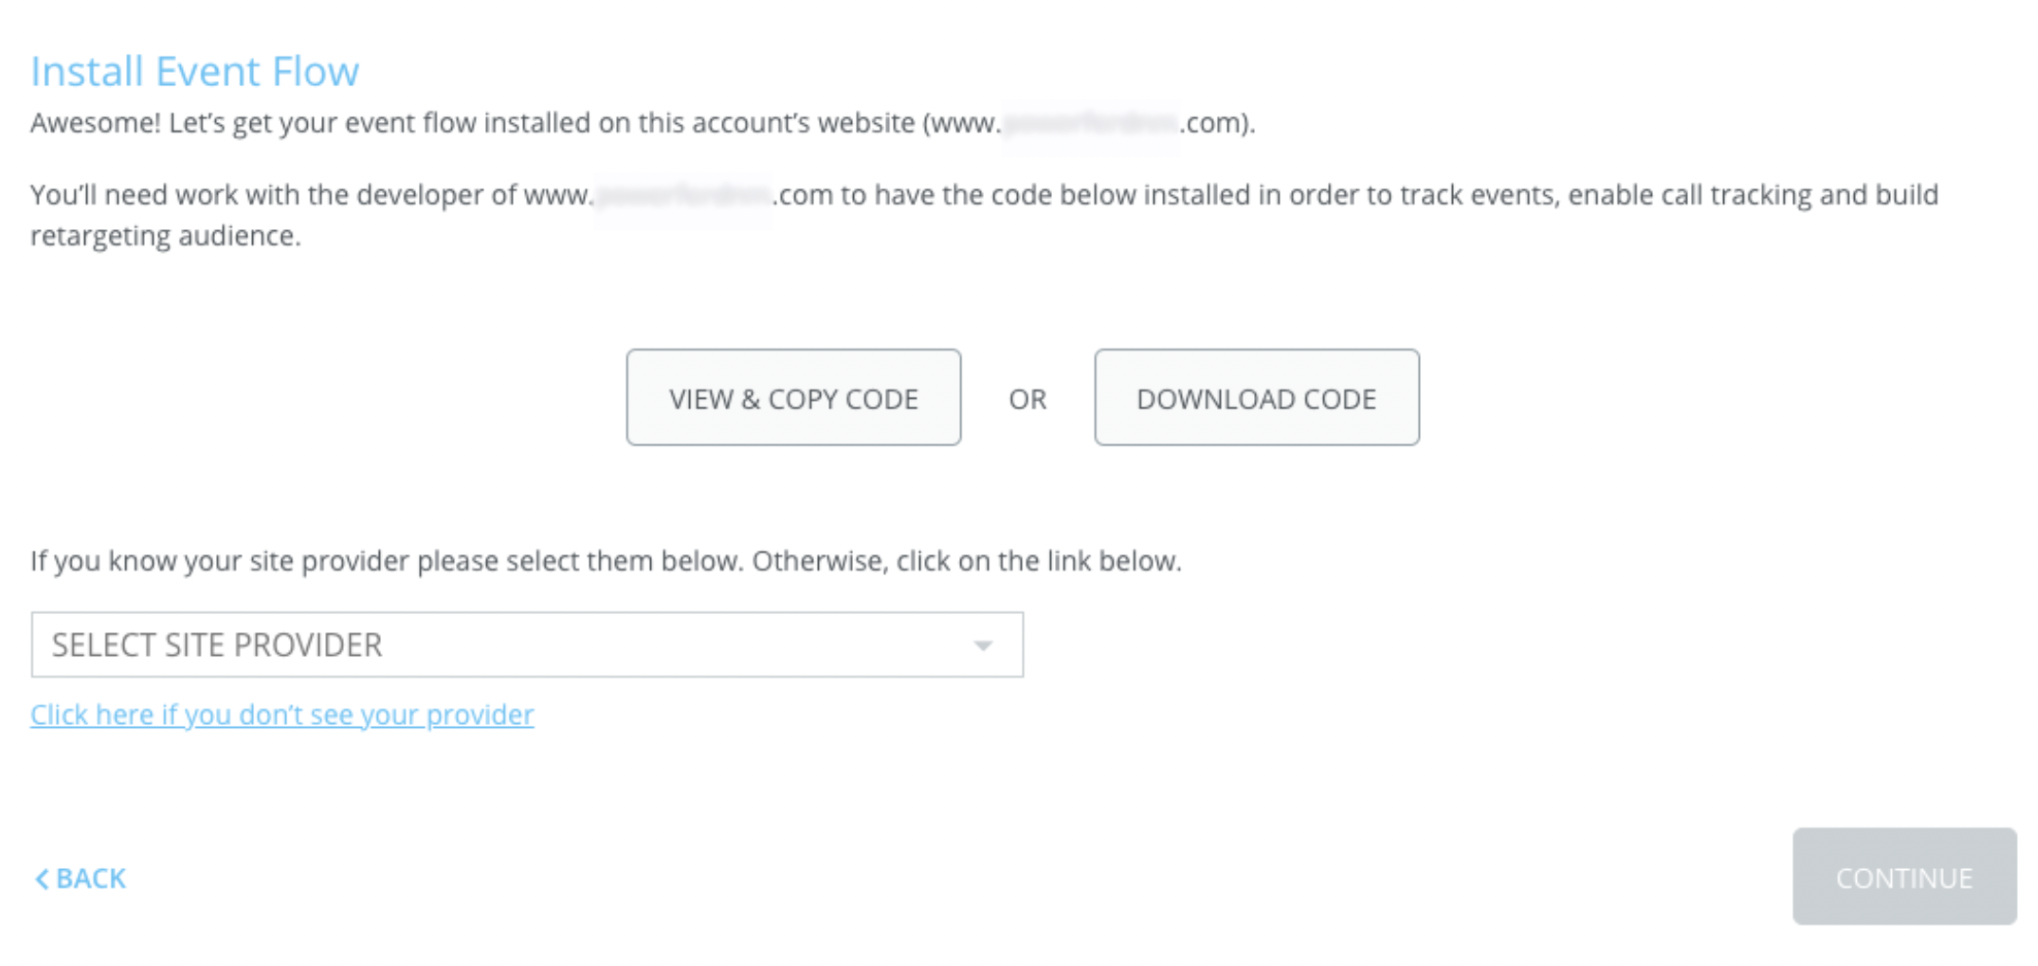
You can now install the Event Flow script directly on the website, but if you don't have access, you’ll need to work with the developer of your dealer client's website to have the code installed in order to track events, enable call tracking and build retargeting audience.!

To Install the code yourself:
-
You have 2 options:
-
View & Copy Code (with access to the website, take code snippets provided and paste in relevant website portions; if no access, send a link to a third party for installation)
-
Download Code
-
- Notify provider via BuyerBridge. You can coordinate with the provider directly to have the code installed if you choose to do so, otherwise:
- If the site is using a known provider (e.g. Dealer.com) you can select the provider from the "SELECT SITE PROVIDER" drop-down, and our system will provide some suggested steps to coordinate the install with that provider.
- If you are unable to locate the site provider from our list, select "Click here if you don't see your provider," and a slide-out panel will display where you can Request a New Site Provider.
- Next, you will need to obtain written approval from an authorized contact at the new account authorizing your Site Provider to install this script.
- Once approved, send a copy of the approval and scripts directly to your Site Provider and request they be installed on your accounts site.
- After your Site Provider has successfully installed the script, press Continue to confirm.
All set? Let's move on and set up targeting & budgeting for your client!
NEXT STEP: TARGETING & BUDGETING
