Now that you have completed your client’s onboarding with BuyerBridge, it is time to set up and launch their ads. This guide provides a clear, step-by-step process for deploying a Playbook.
💡Need a more information on Playbooks? Learn more here!
Navigate Faster with Quick Links
Step 1: Locating Playbooks in the BuyerBridge App
To begin, we want to ensure you are managing the correct account.
-
Log in to the BuyerBridge dashboard.
-
Use the left-hand menu to navigate to Organization > Account Management > All Accounts

-
Client accounts onboarded in BuyerBridge will be displayed in the Account dashboard.

- Select the client account for which you will be deploying a Playbook.

-
Use the left-hand menu to navigate to Playbooks > Browse

Welcome to the Playbooks Library!
By default, the Playbook library displays the most popular Playbooks at the top and organizes them by numerical and alphabetical order.
You can filter Playbooks by Channel, Campaign Type, Brand, and more.

Step 2: Selecting a Playbook
Browse the Playbook options and choose the one that best fits the client’s advertising goals.
-
Click the blue 'Deploy' button to start the deployment process.

-
A prompt will appear to select a channel.
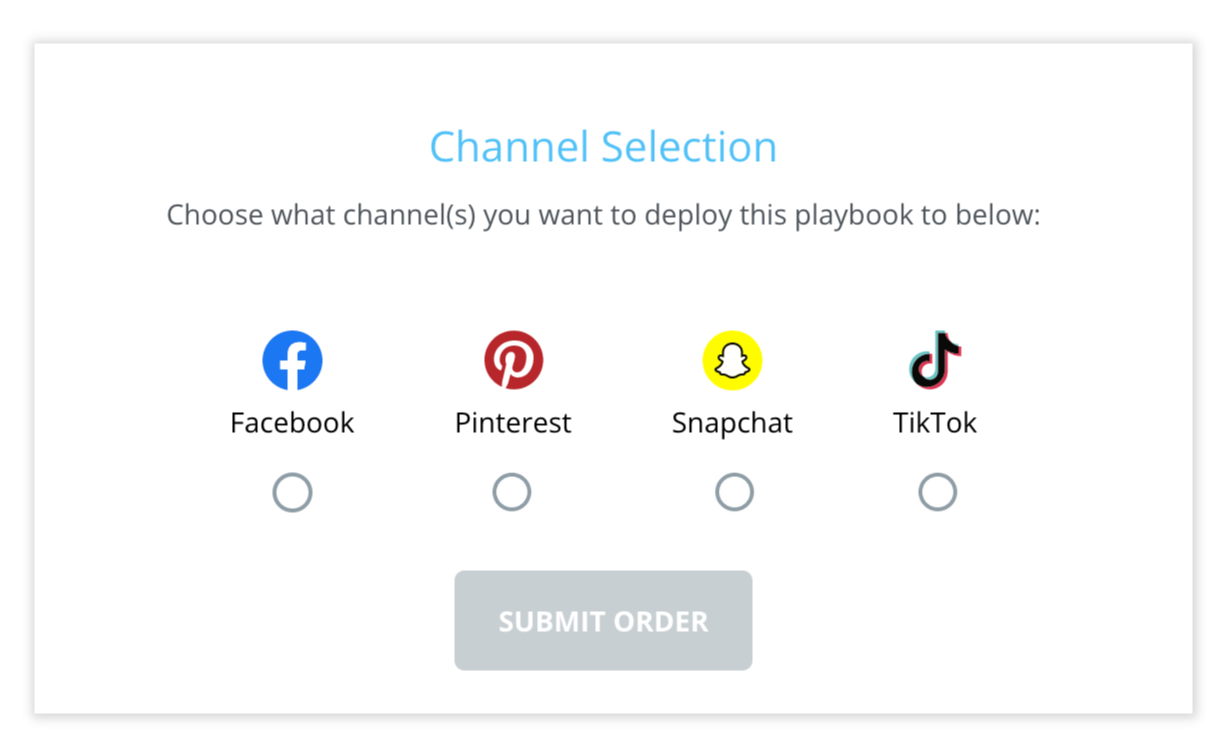
🚨Please Note: Deployments across Meta (Facebook, Instagram, and Messenger) are automated.
Deployment across TikTok, Snapchat, and Pinterest requires additional deployment time.
Most orders are completed within three (3) business days, but delays can occur.

- Choose the appropriate advertising channel (e.g., Meta, TikTok, etc.).
-
Click the blue 'Deploy' button to proceed.

Step 3: Setting Up Call Tracking
- Select the Meta Call Tracking number that forwards calls to the business’s phone number.
-
Click the blue 'Continue' button to proceed.
Step 4: Setting Up Campaign Targeting & Budgeting
Targeting Setup
-
By default, the Single Targeting Radius is enabled, meaning all ads will have the same targeting radius (15 miles by default).
-
If needed, toggle this setting off to create up to four targeting zones.
📣 Important: All targeting radii must be at least 15 miles and 50 miles or less.

Budgeting Setup
-
Set the daily budgets for each ad set within the selected Playbook.
📣 Important: The system automatically sets the daily minimum budget by default.
-
Click the blue 'Continue' button to review your selections.

Step 5: Customizing Copy (OPTIONAL)
-
If necessary, customize the ad copy before finalizing the Playbook deployment.

Step 6: Reviewing Setup & Deploying
If the selections that were made are all set to go in the BuyerBridge system you will see the blue “Deploy Play 🚀” button and need to click it.
-
Review all selections to ensure accuracy.
-
Click the blue 'Deploy Play 🚀' button to begin deployment.
-
Once deployed, the ads will be built into the selected Ad Account.
-
To track progress, navigate to Playbooks > Manage in the left-hand menu.
📨If elected, once deployment is completed, you will receive a confirmation email.

🎉CONGRATULATIONS! You just launched a Playbook. Please keep reading for the final steps in the process - Your ads are not LIVE just yet!
Step 7: Confirming Playbook Deployment
- Use the left-hand menu to navigate to Campaign Management
📣 Important: The Campaign dashboard automatically displays 'ACTIVE,' campaigns by default.
-
In the Status column, use the dropdown menu to change the ad status from 'Active,' to 'PAUSED.'

-
Locate the newly created campaign(s) and toggle the status bar from Gray to Blue to set the campaign to Active.'
- The ad 'Status,' will now display a green icon, indicating that the campaign is LIVE and active.

The campaign is now LIVE, which completes the BuyerBridge Playbook deployment process!
Troubleshooting Deployment Errors
-
If an error prevents the Playbook from deploying, an alert will appear.
-
Click the blue hyperlinked text in the error message to submit a support ticket.
-
The BuyerBridge support team will resolve the issue
If there are any issues or you need any assistance you can always contact support by emailing: Support@buyerbridge.com