To Start Using The BuyerBridge Ad Builder:
There are multiple ways to reach the BuyerBridge Ad Builder.
- Find the Create New green + icon in the top right of the navigation bar inside the BuyerBridge platform, then click Create New Ad.

- Or, locate the Ad Builder via the Ad Library tab in the left side navigation panel

- You will be immediately prompted to upload an image or video file by either dragging a file into the upload box or by pressing the button “Select File From Your Computer”.

📖 Supported file formats are:
- Image: .jpg, .jpeg, or .png
- Video: .mp4 or .mov
- Click here to view the recommended dimensions, file sizes, and more for your uploaded files
NOTE: TikTok only supports video image formats, so if you are wanting to deploy an ad on TikTok, be sure to upload a video in this step!
We recommend following our Creative Best Practice Guide to ensure your ad images are optimized for the different channels you wish to advertise on.
- Once your file is uploaded, you will be prompted to select the channels you wish to create the ad for.
> If you see “Missing Dependencies,” you will need to complete the Channel Setup for any of the channels you want to deploy to. - Under “Ad Name,” be sure to rename your ad. We recommend using specific naming conventions so you can easily locate this ad in Campaign Management later.
IMPORTANT: If you do not rename your ad, the ad name will automatically default to the name of the media that was uploaded.
- Select your desired channels
- Once you select your desired channels, review the Ad Builder’s automatic formats and placements in the “Ad Creative” panel.
⏳ NOTE: Reddit Coming Soon! Get ready for this new ad channel by reading our blog: There's a New AIA in Town: Reddit Dynamic Vehicle Ads
Configure Media Styles
Once you select your channels, you will see Ad previews that you can configure the media styles for.
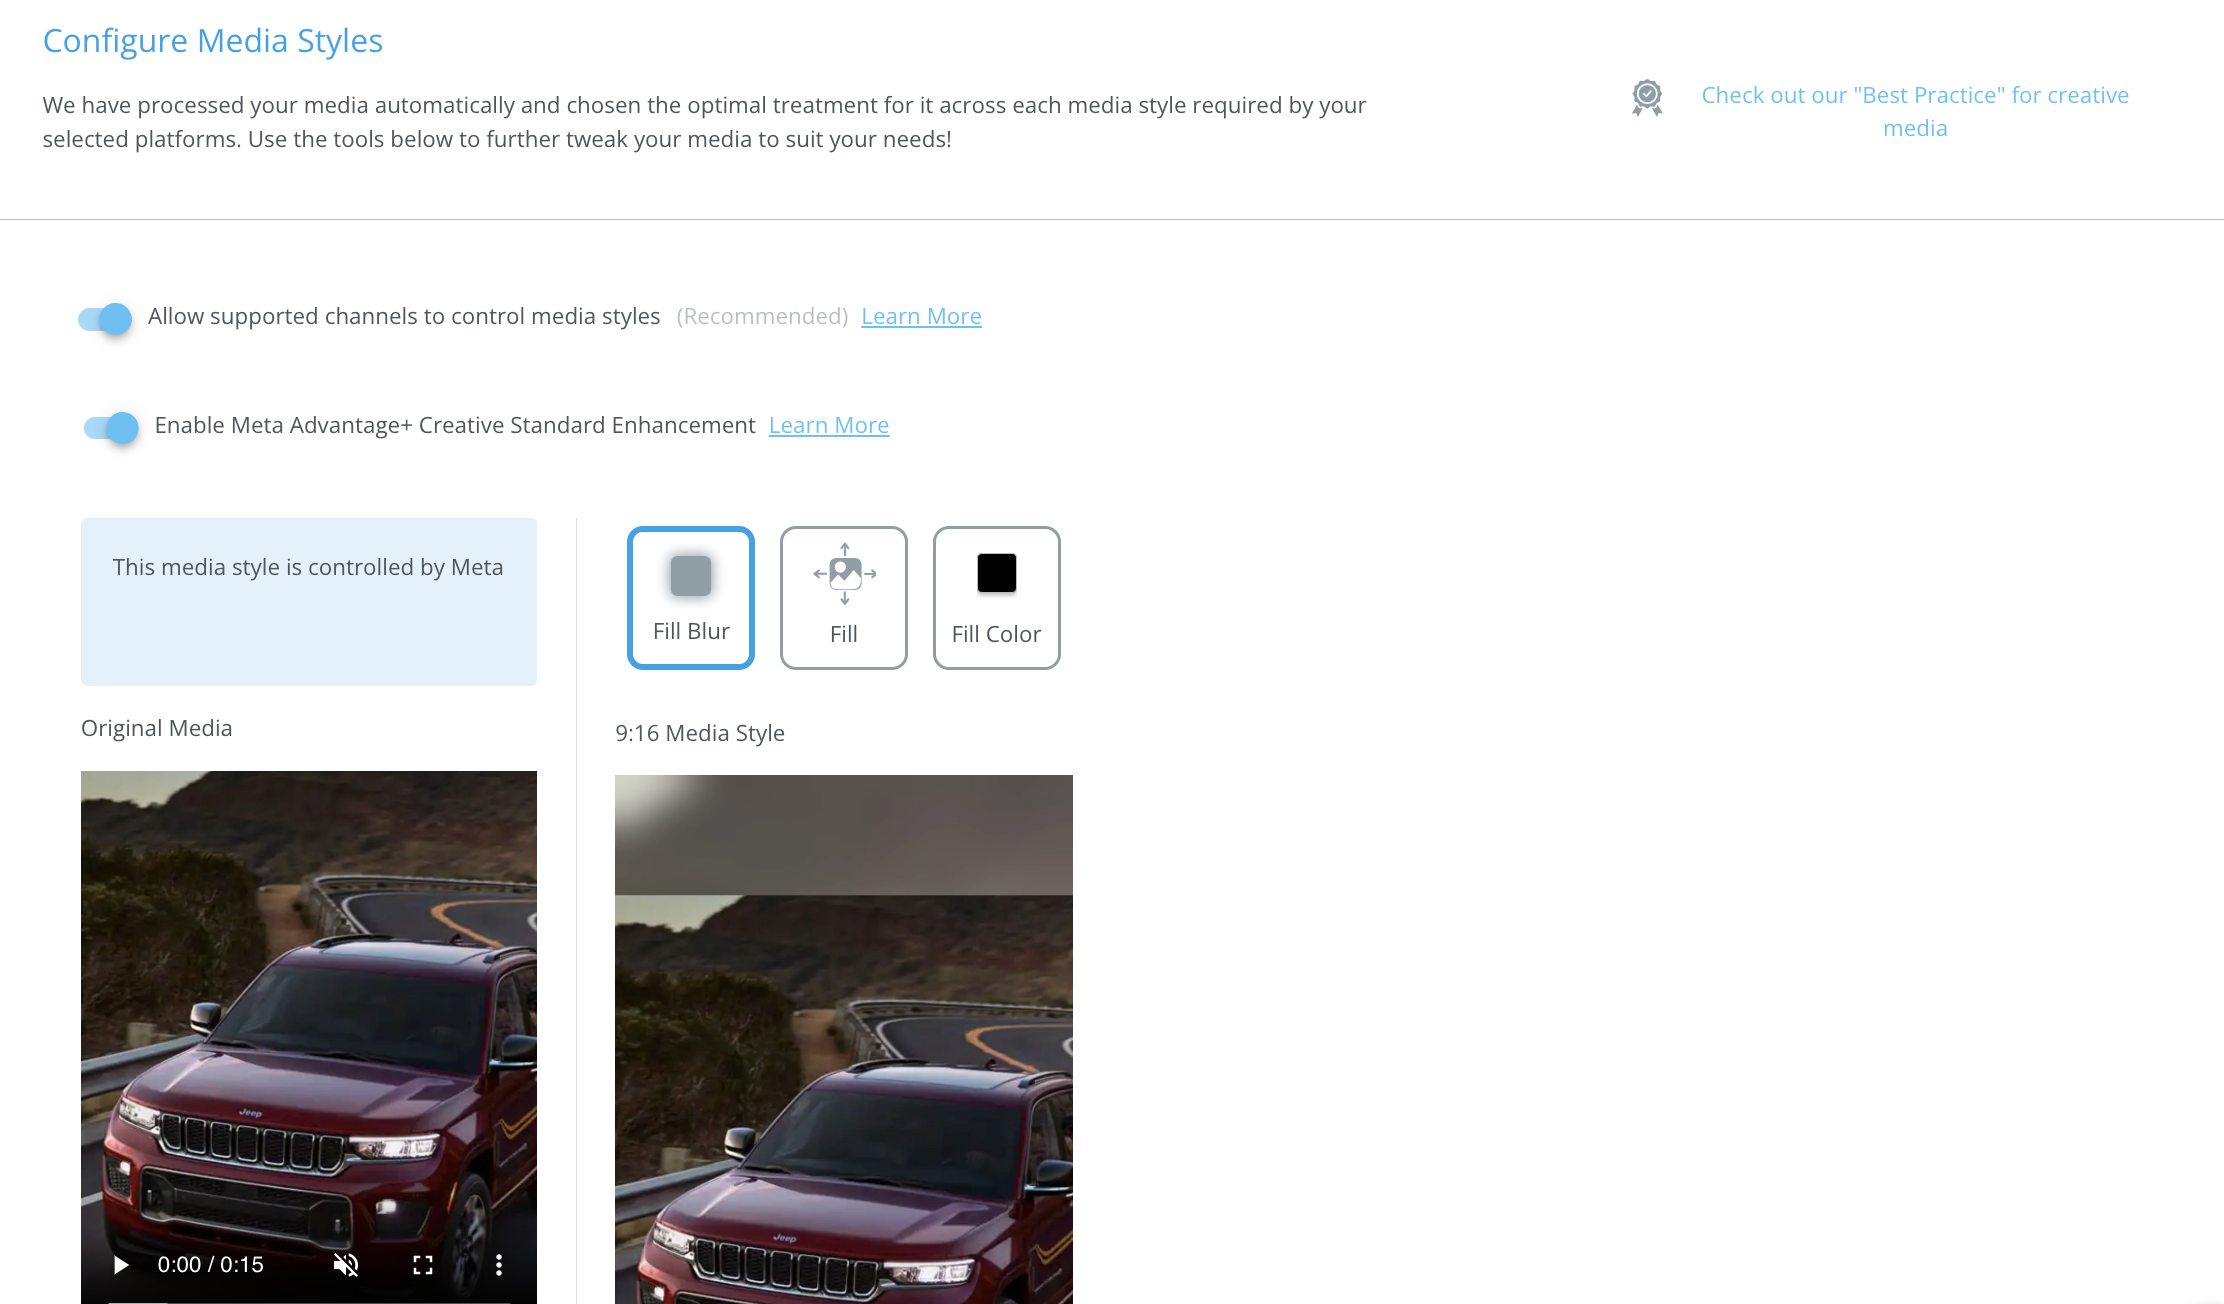
Media Style Control
When the Media Style Control toggle is selected, you are allowing the selected channel to control the Media Style of the Ad. The uploaded media will be processed automatically and will have the optimal treatment chosen for it across each media style required by your selected platforms. 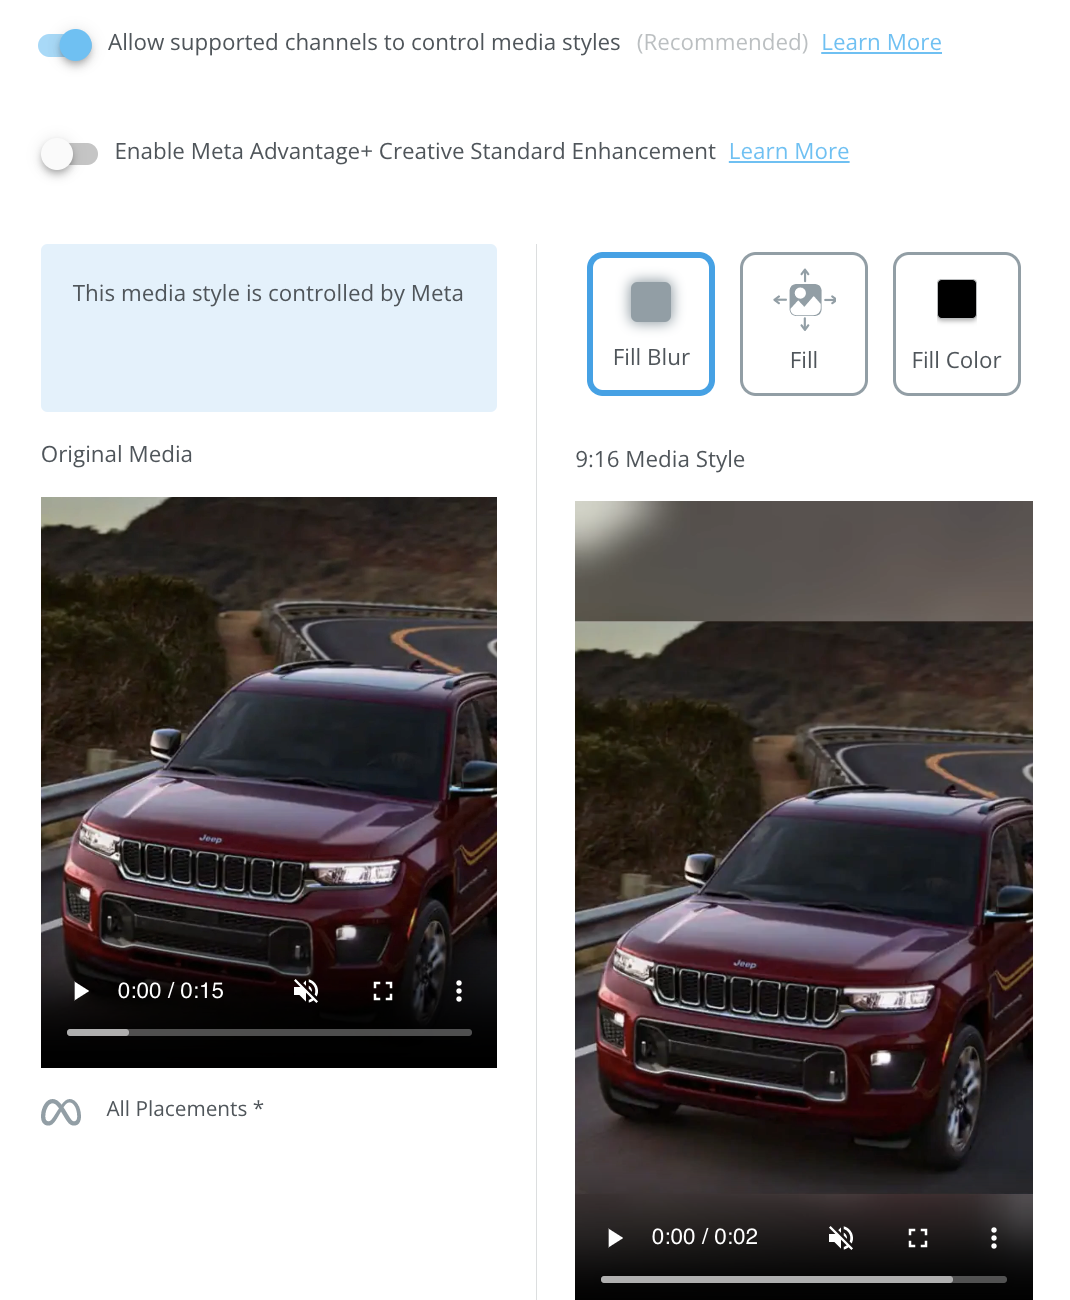
If the Media Style Control toggle is not selected, you can modify formatting for all media. You have the option to choose from Fill Blur, Fill or Fill Color.
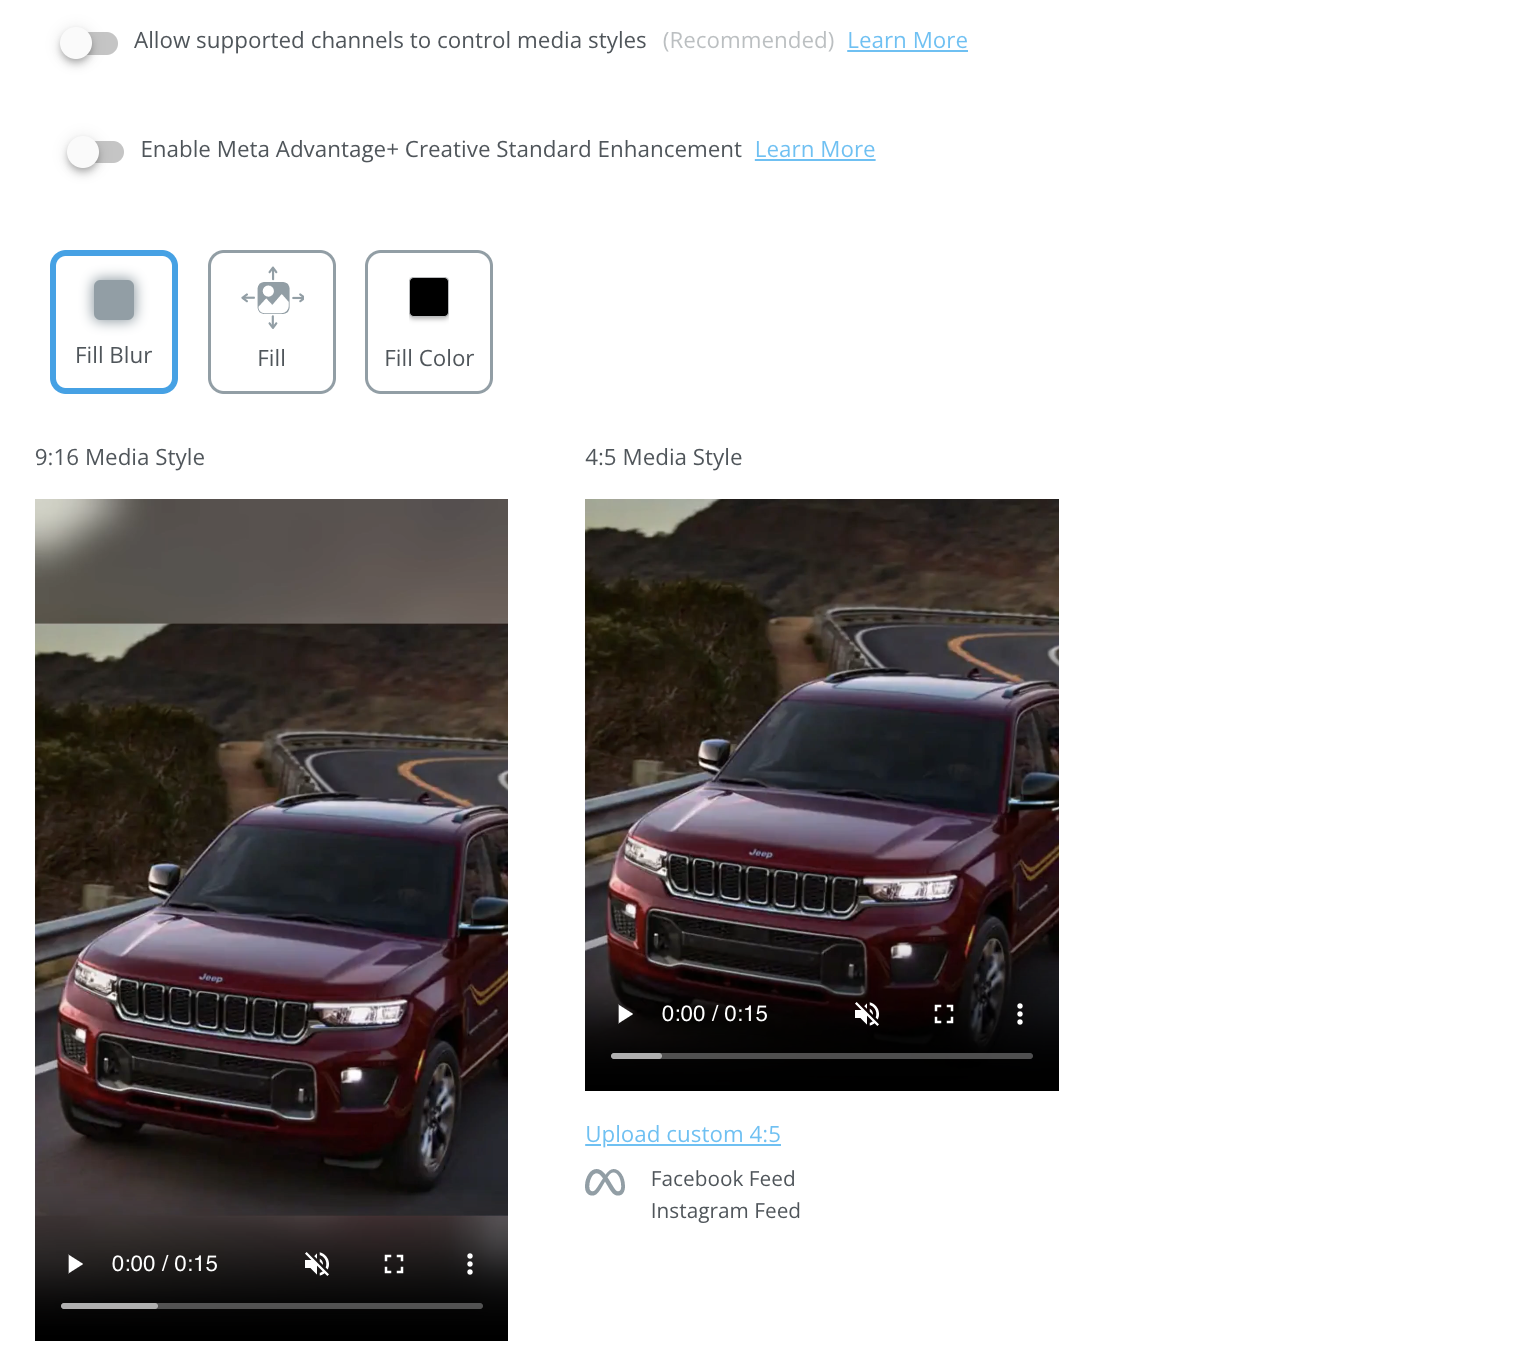
- Fill Blur: The space behind the media will be blurred. This is the default format.
- Fill: Fills the available space.
- Fill Color: Allows the background color to be selected.
- If a video is being used, the default Fill Color will be black.
- If an image is being used, the default Fill Color with be the dominant color of the image.
- This will only apply to the first time you upload your media, if you upload a custom image ti will not select the dominant color.
Simple vs Advanced Formatting
Simple and Advanced formatting are only available when the Media Style Control toggle is off. Selecting “Advanced” mode allows you to set custom formats for each controlled media style. Selecting “Simple” mode will switch back to shared control by the platform.
-png-1.png)
NOTE: If customizations were made, changing back to “Simple” mode will revert any customizations made to formatting.
Advantage+ Creative Standard Enhancements
Advantage+ Creative Standard Enhancements is for Ads using a single image or video. Advantage+ Creative automatically creates multiple variations of the Ad and shows a personalized variation to each user based on what they're most likely to respond to.
NOTE: You can only create Ads with Advantage+ Creative Standard Enhancements using Traffic, Leads, Engagement, Sales and App Promotion objectives.
When creating an Ad with Advantage+ Creative Standard Enhancements, a single image or video and a variety of text options can be added. Multiple variations of the Ad will automatically be created with different text combinations, media enhancements, and compositional changes. Creative inputs, Ad setup, and Placement selections determine which variations are automatically created.
Below are some of the types of media enhancements and compositional changes that can occur in this ad creation flow to automatically optimize creative:

IMPORTANT: The Media Style Configurations can only be completed when creating a new Ad. They can not be accessed from the “Edit” function of an Ad.
Once you are happy with your upload, you can click “Next” to continue customizing your ad!
Create Multiple Ads At Once
You can also use the Ad Builder to create multiple ads at one time.
At the top left you will see the “Add” button > click the “Add” button > “Create New Ad(s)” will display > click “Create New Ad(s)” > upload your new asset > now you can begin creating your different ads.

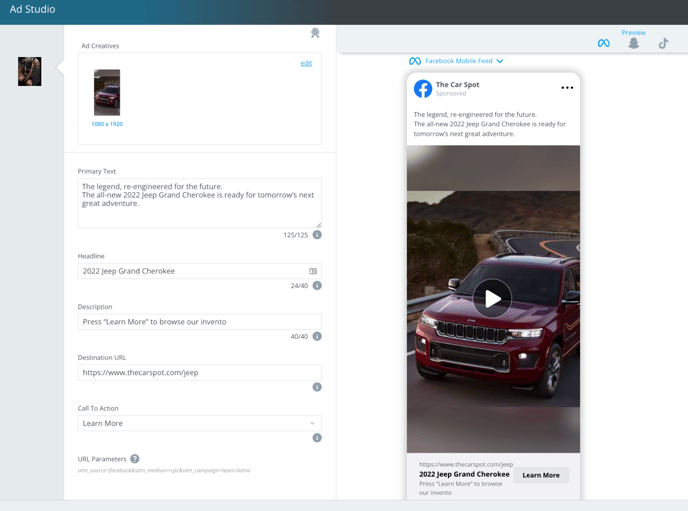
Customize Your Ad Details & View Instant Previews
Now for the best part! Complete your ad with copy, links, and even a call to action (CTA), and preview how your ad will look across each channel!
Check out the Ad Builder Cheat Sheet for helpful tips!
Using the left panel, you now can edit the details of your ad.
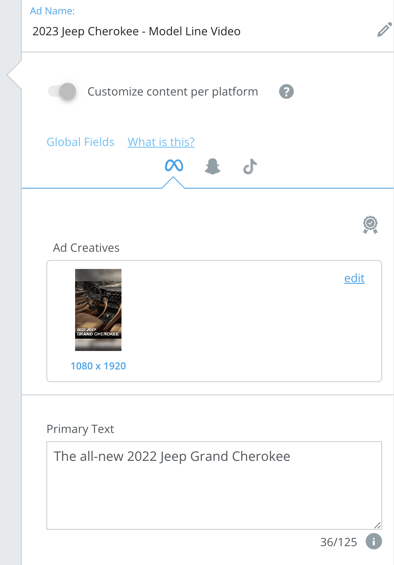
Customize content per channel
If you’ve selected multiple channels, you can also edit the copy and details for each channel! Simply toggle “Customize content per channel” ON or OFF. If you are creating for multiple channels, we recommend turning this ON for maximum optimization.
If you customize per channel ON, click on each icon at the top to get to the ad fields for each channel.
A preview will display on the right in real-time as you begin entering your ad details.
Ad Fields:
- Primary Text
- Headline*
- Description*
- Destination - Website URL
- URL Parameters
- Call To Action
*Meta (Facebook and Instagram) details only.
Copy / Character Limits
In each text field such as Primary Text and Description, you will see a character or copy limit.
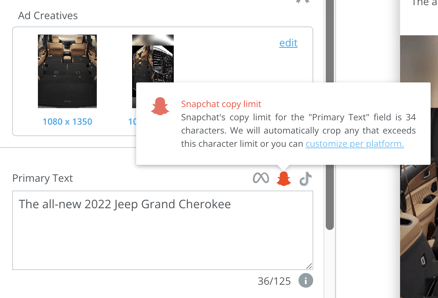
If you have “Customize content per platform” OFF, our platform will reference the least amount of possible characters and will turn the channel logo RED if your input will be cut off in that placement.
We highly encourage turning “Customize content per platform” toggle ON to ensure you optimize your ad for each selected channel.
TIP: We recommend checking out the Ads Builder Fields Cheat Sheet if you need help with any of the Ad Fields or need to know more about the Copy/Character Limits.
Preview Panel
In the right-side preview panel, you can easily view what the ad will look like with all of the details and copy you added.
- Choose the previews you want to see by selecting the channel icons at the top of the panel. Click them again if you wish to hide the previews from your current view.
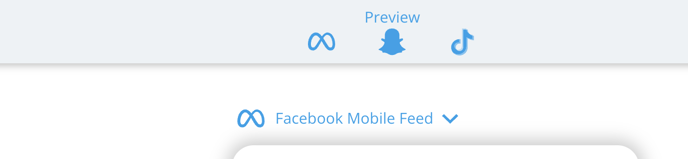
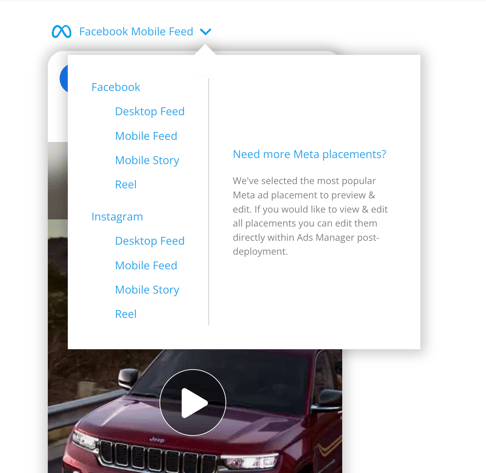
- For Meta previews, you can click the dropdown arrow next to view all placements such as Facebook mobile, Instagram stories, and more!
How To Change Your Canvas View
On the right-side of the preview panel, you can choose between various canvas views to change how your ads are displayed.
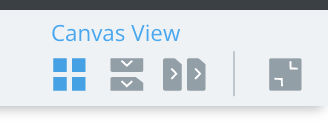
Grid
Grid view shows the ad previews side by side. 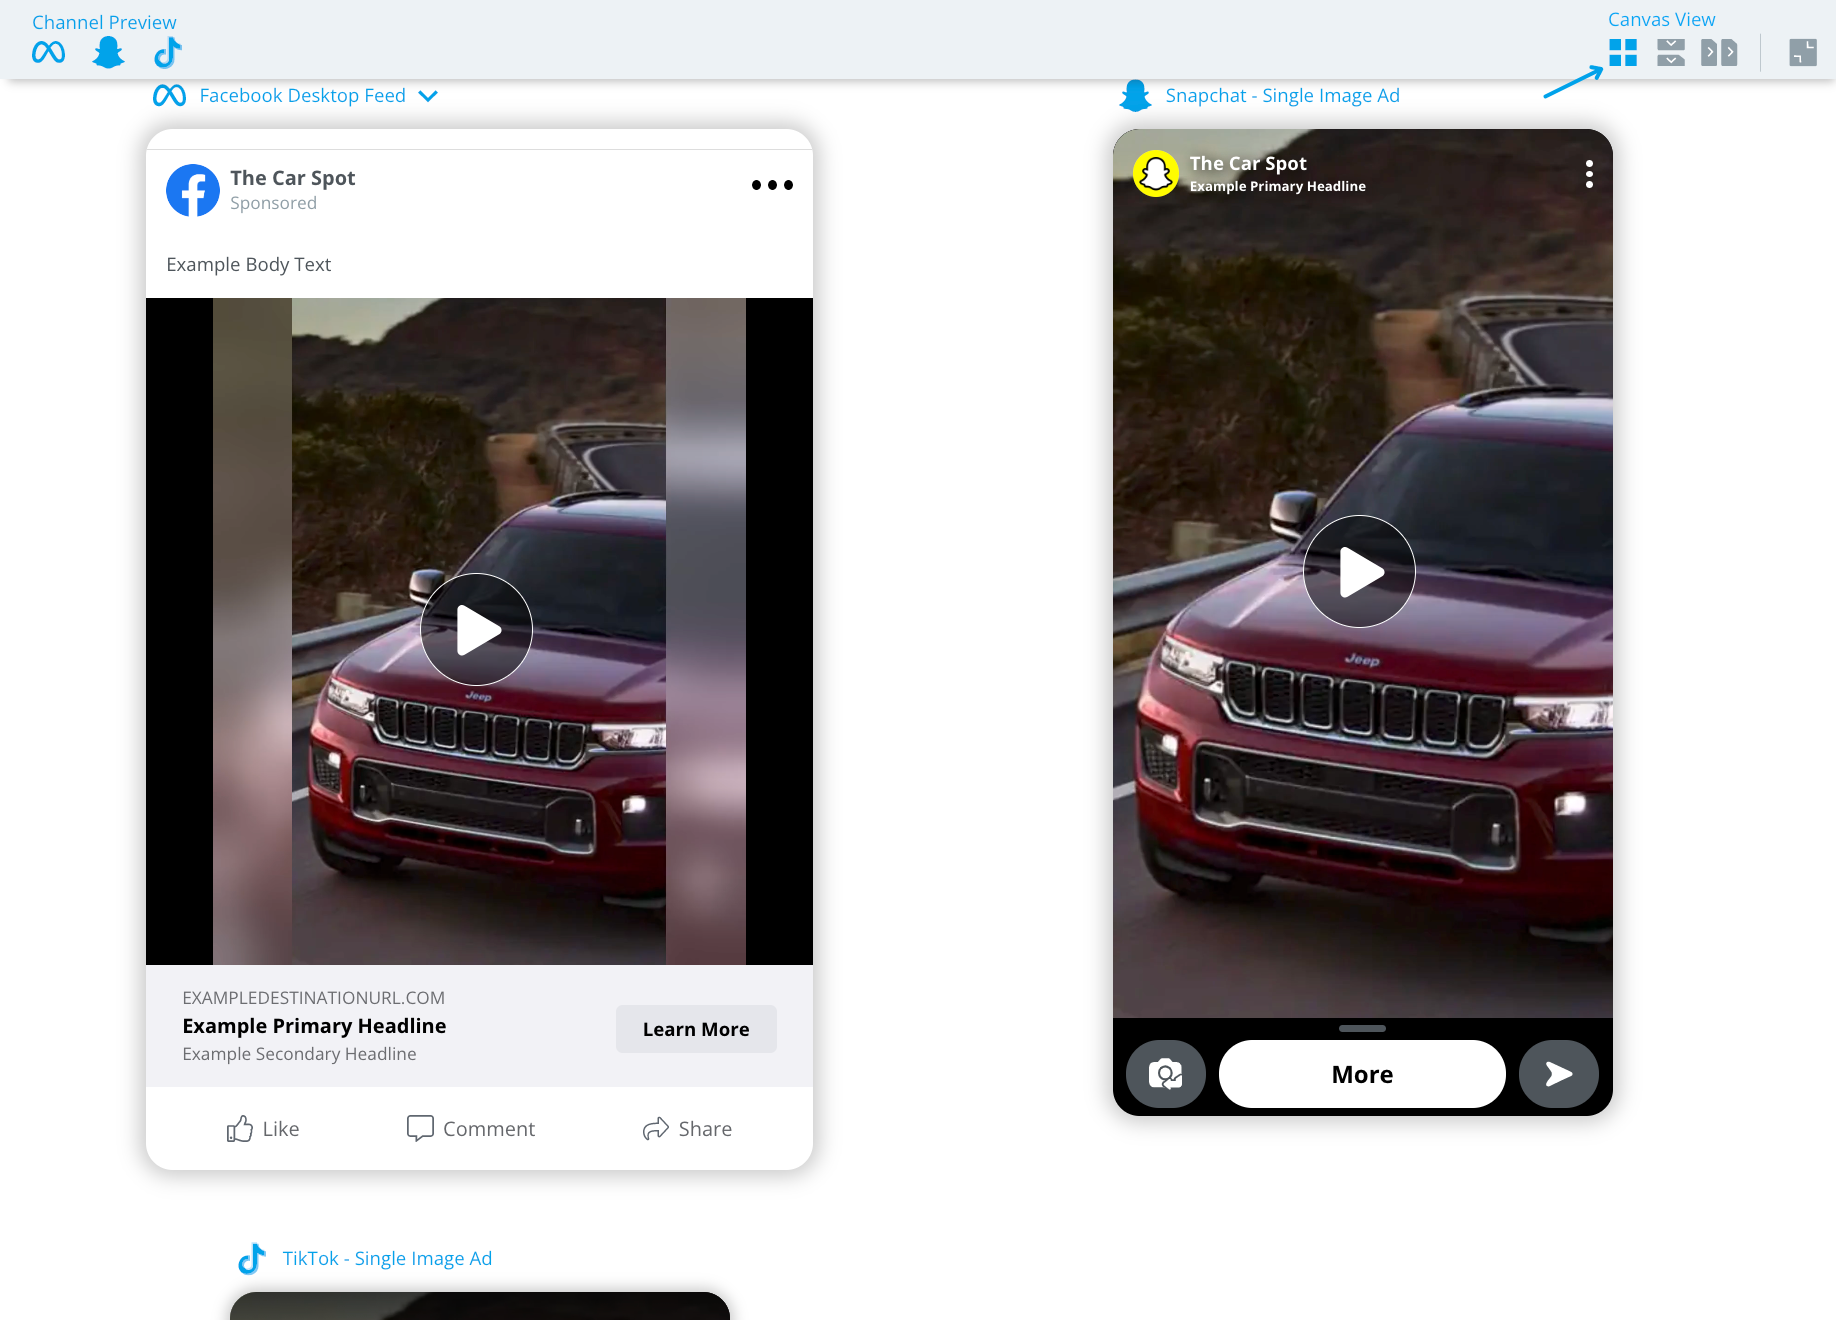
Vertical Scroll
Vertical Scroll shows the ad previews above and below each other allowing you to scroll up and down to view each preview. 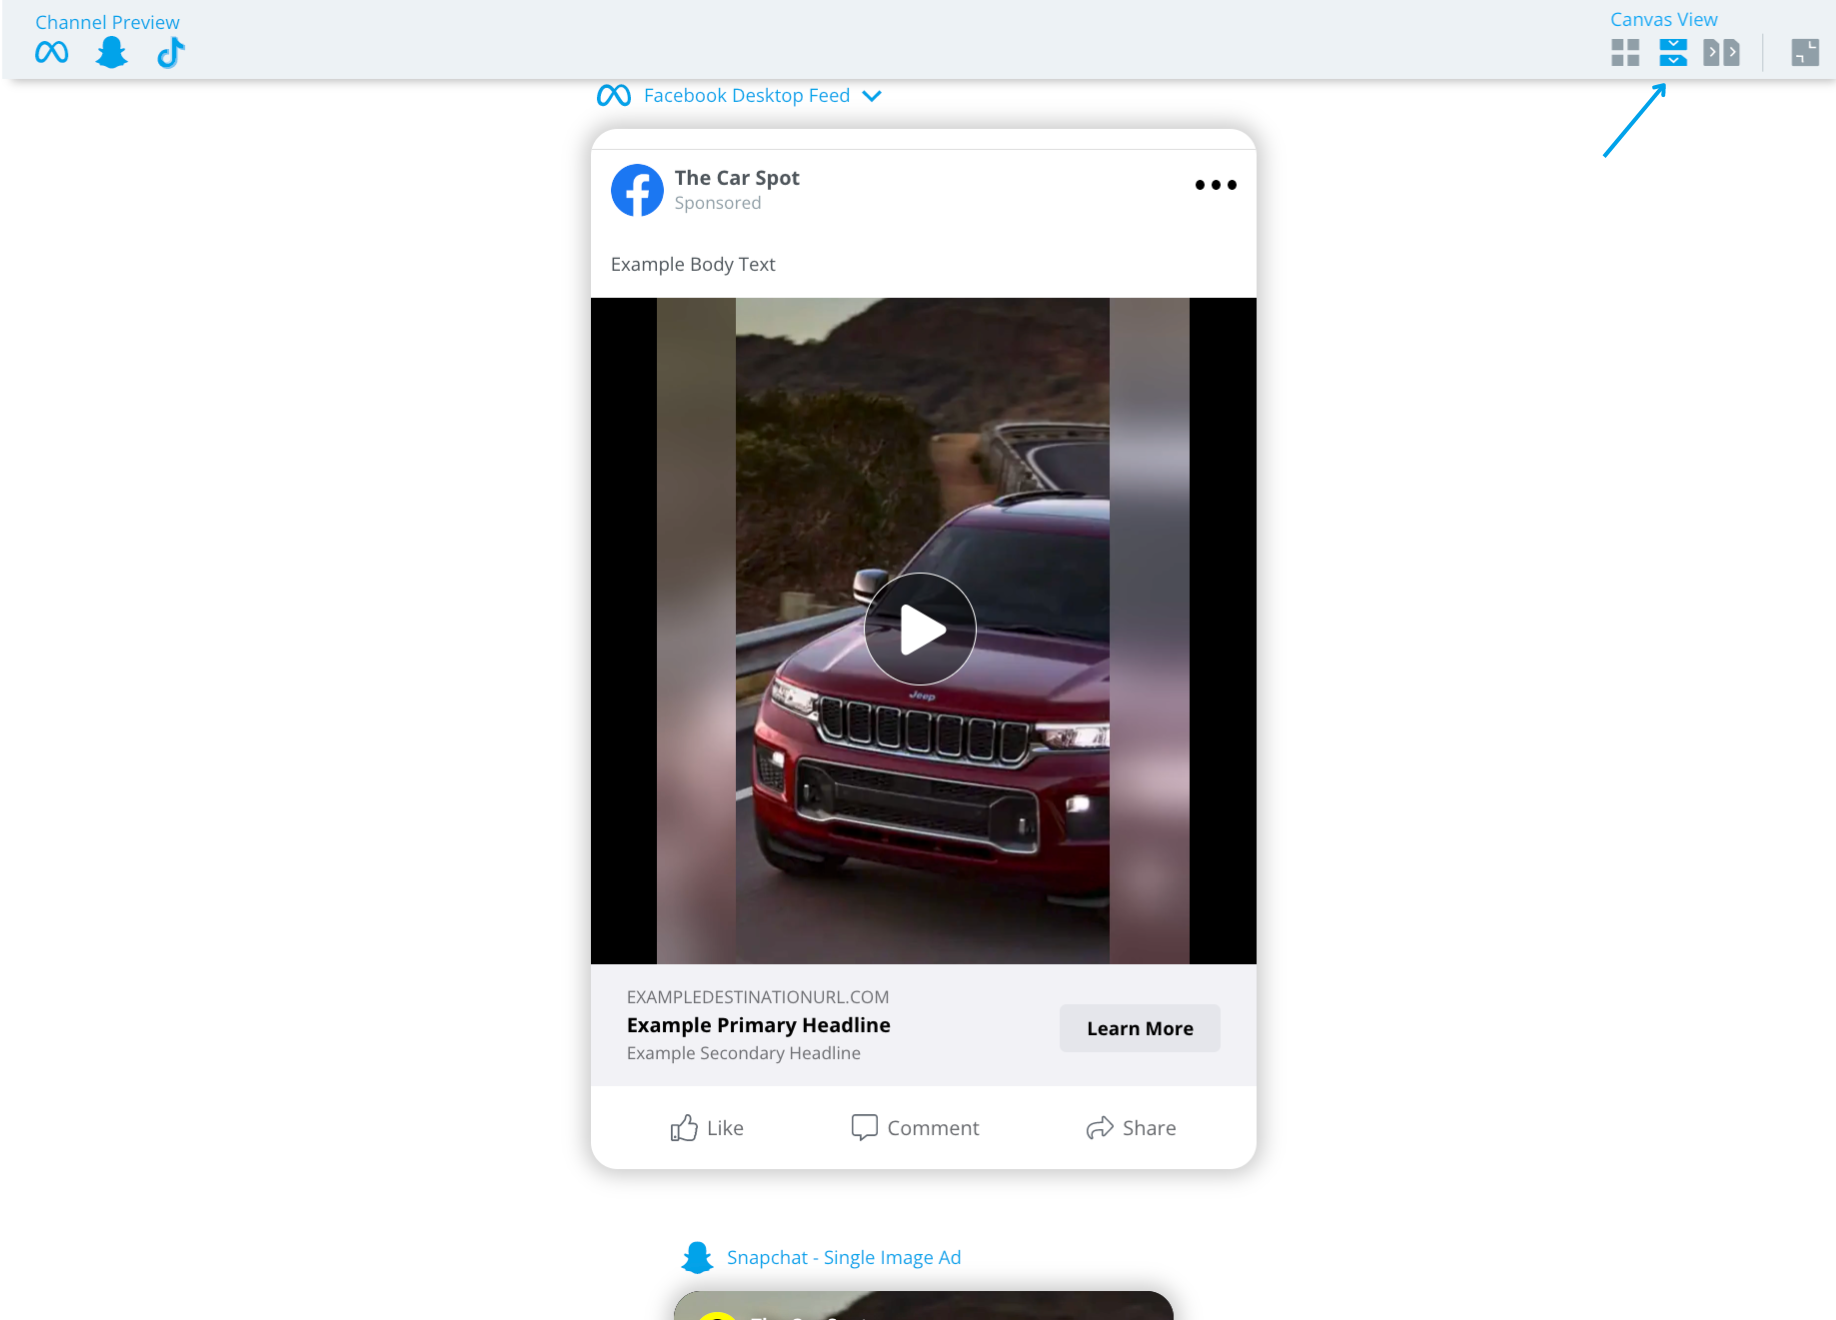
Horizontal Scroll
Horizontal Scroll shows the ad previews in a line allowing you to scroll side to side to view each preview.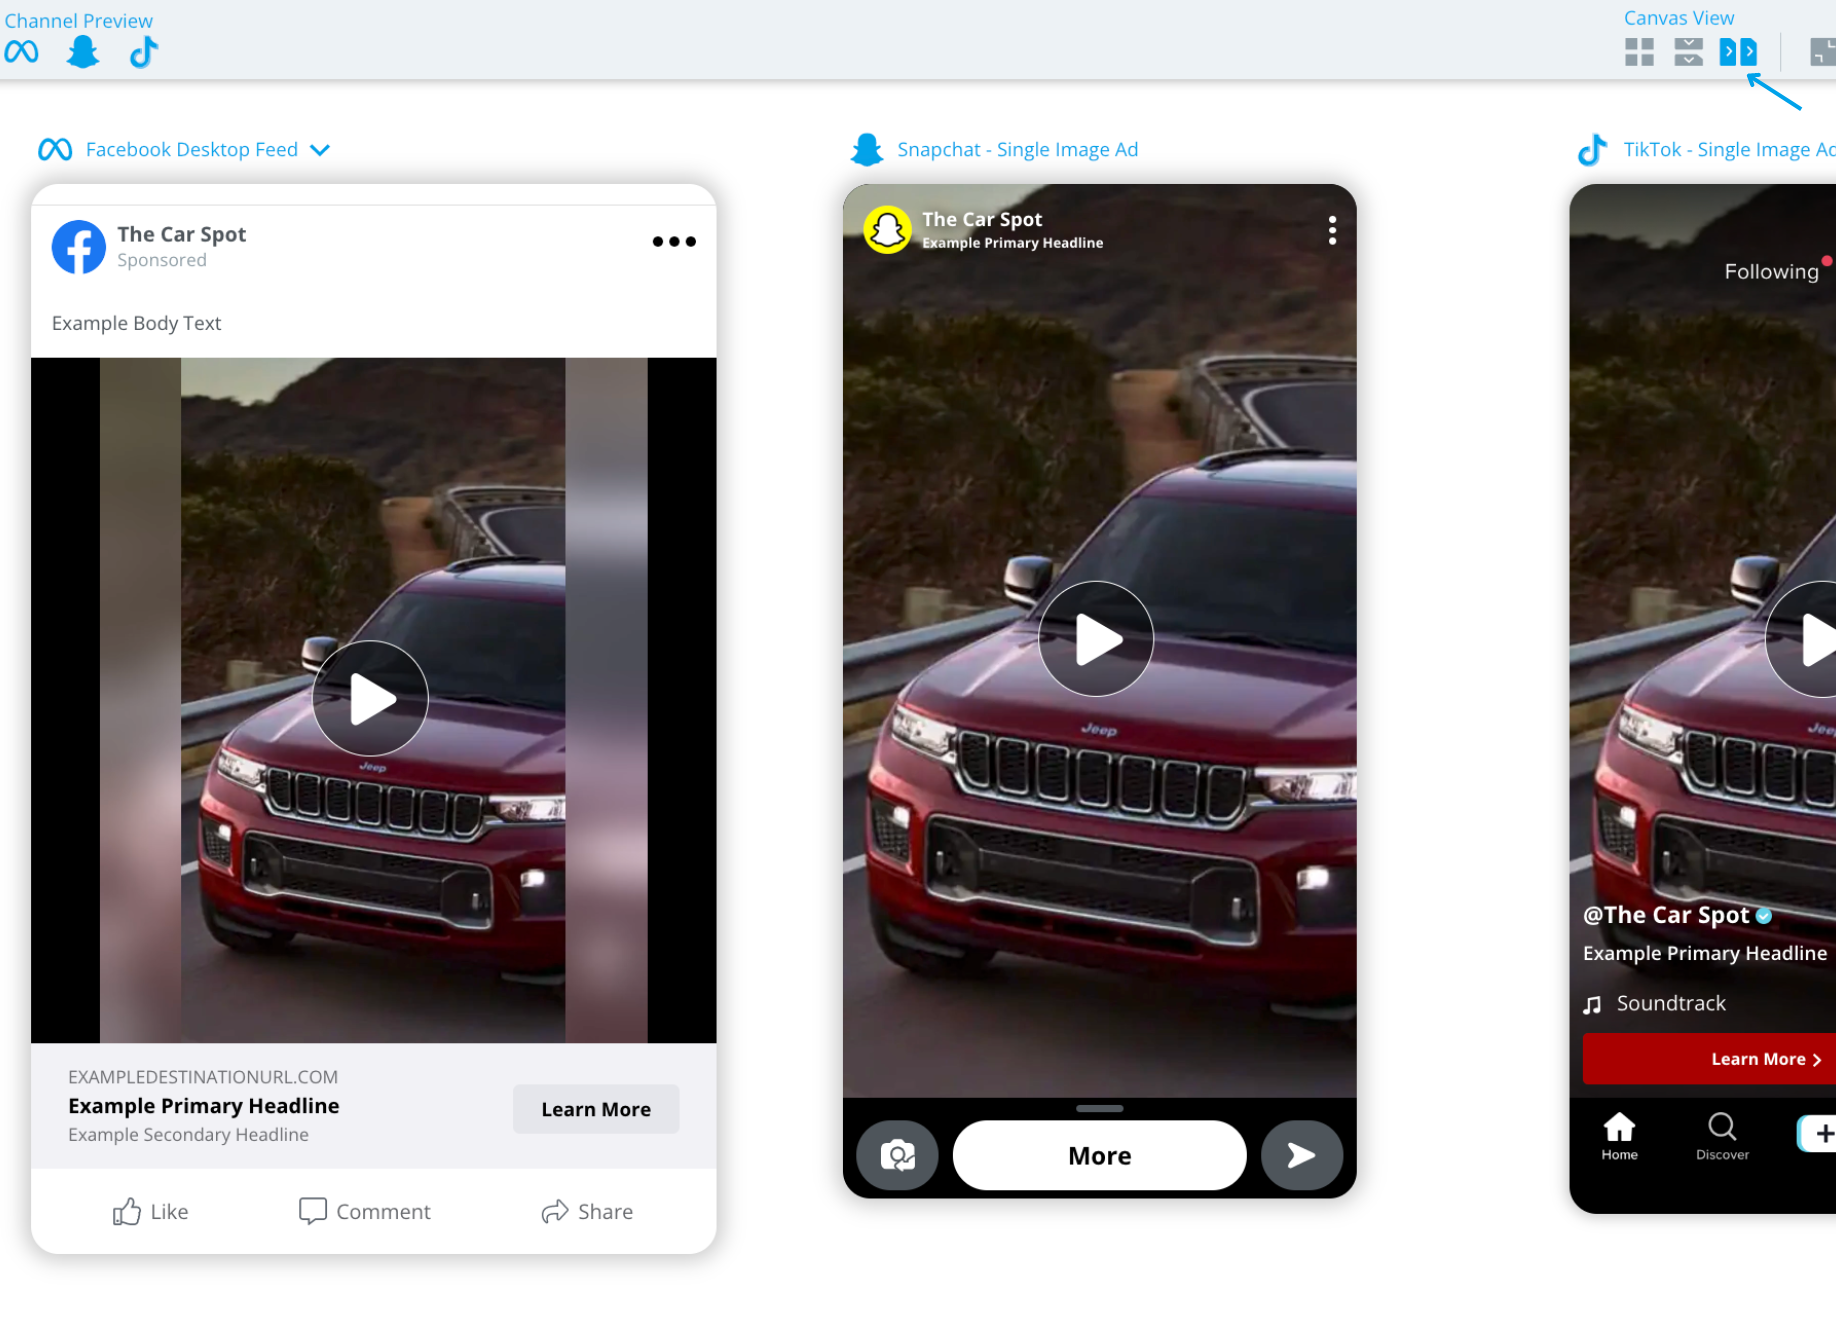
Fill
Fill shows the ad previews all at once. 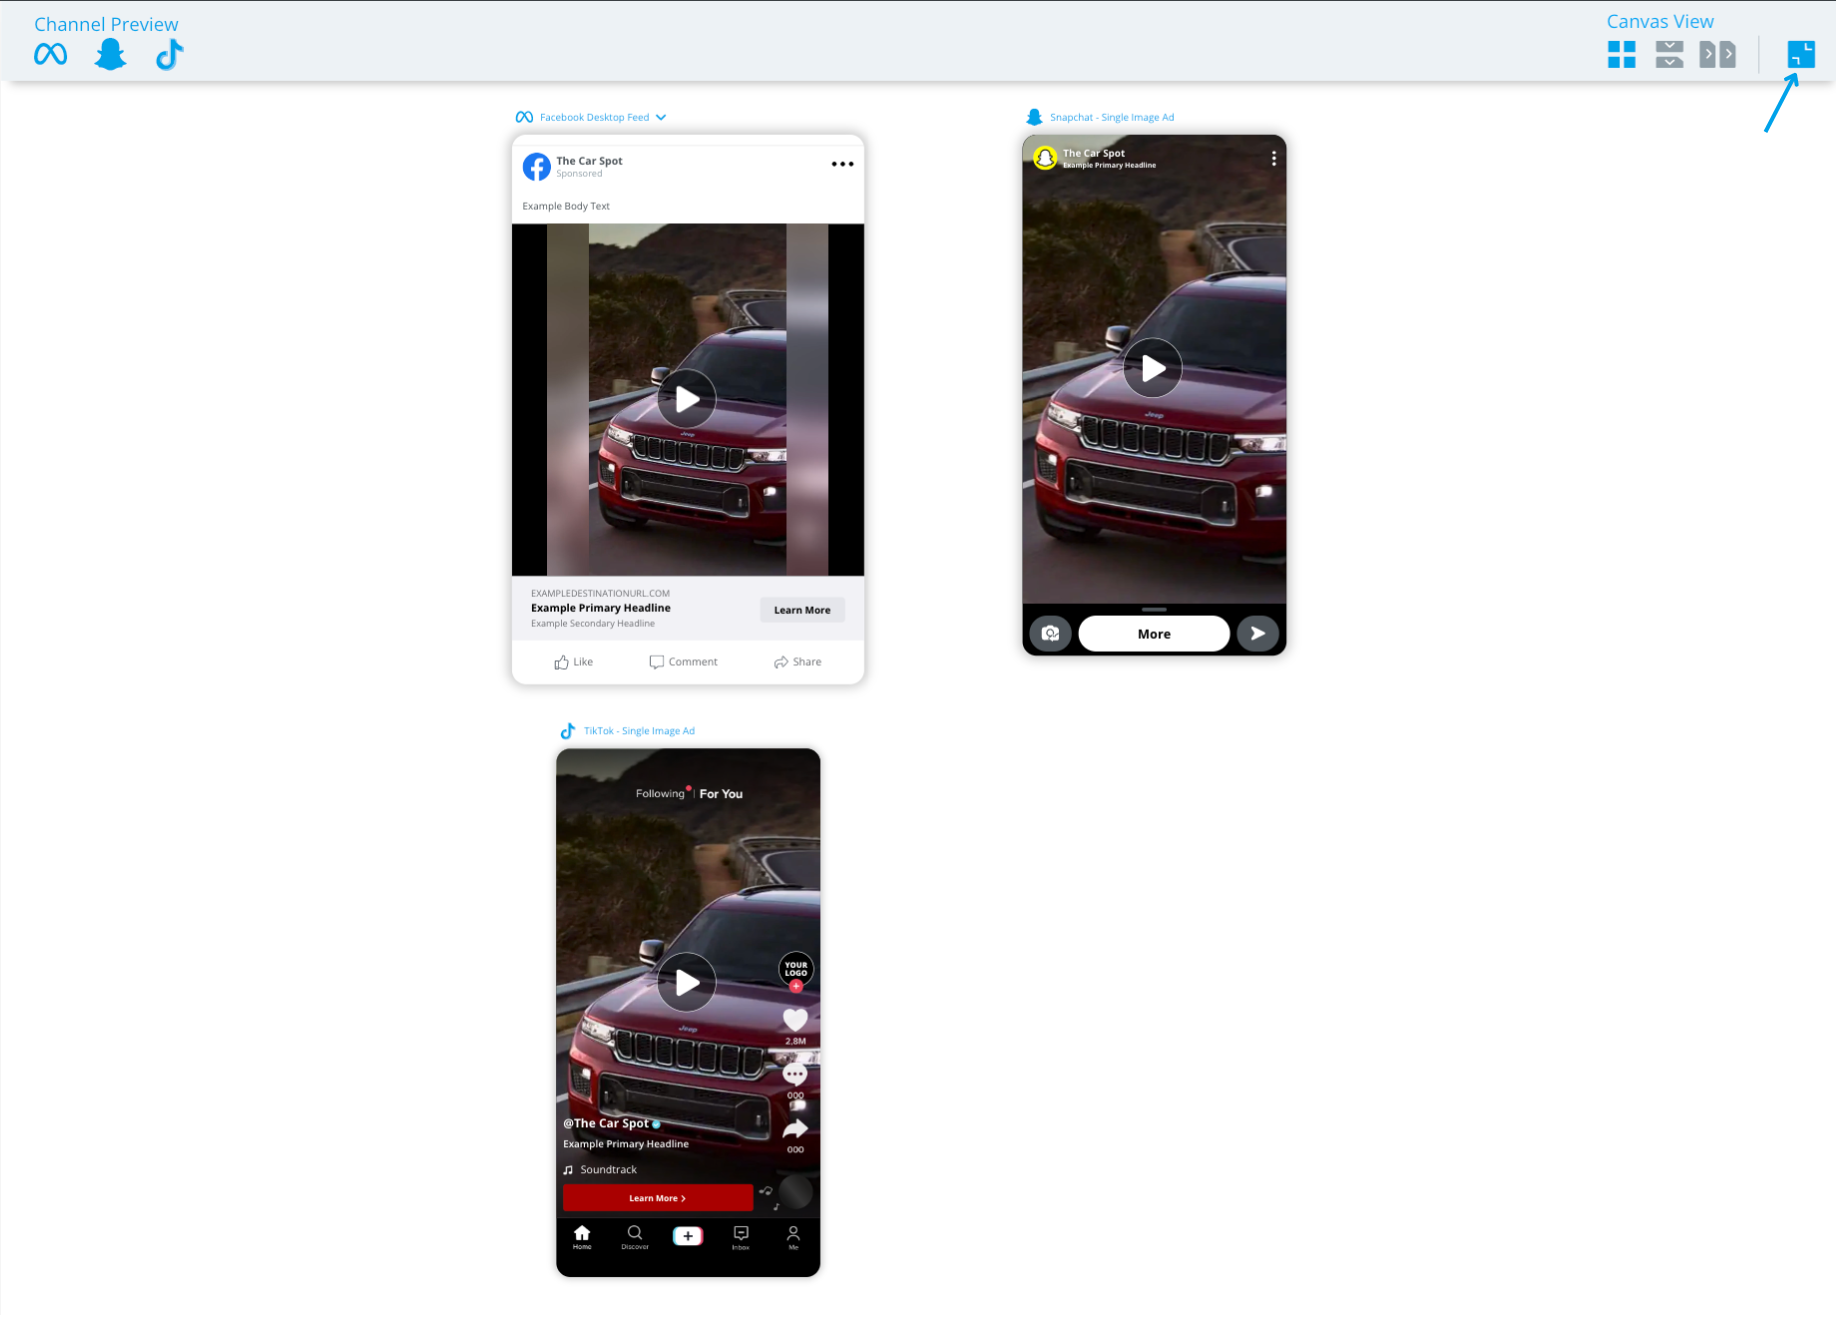
NOTE: When using the Fill view, Grid, Vertical Scroll, or Horizontal Scroll must be selected as well.
Once you have your ad copy and other ad details ready, you can either:
- Save & Exit - Save a draft of your created ads into the BuyerBridge Ads Library. Learn more
- Save & Deploy - Begin deployment with our Omni Ad Launcher tool where you can select your budgets, targeting, and more!